
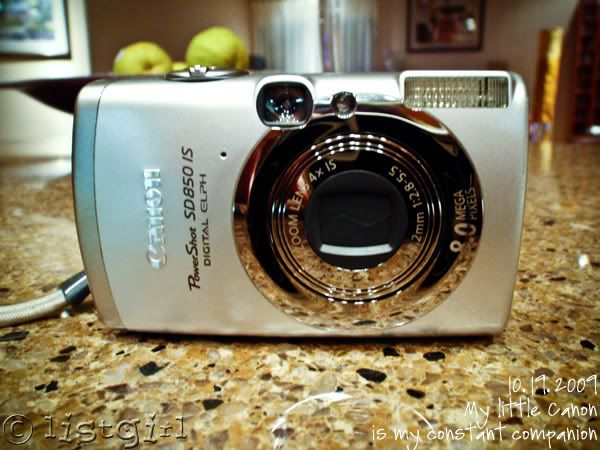
Most of my photos are taken with this Canon SD850 IS.
It is really small and fits into my purse/pocket. This is the only way I could do Project 365. It's important to me that I have a small, all-purpose camera that I can use every day to capture the moments. Would I like to have a DSLR? Of course. But it's pricey, and I can't bring it everywhere with me. So that is on the list for "someday". I am a firm believer that you do not need to have a DSLR to take great photos. Really great photographers can make disposable or cell phone camera photos look fantastic. Also, the best camera for me is the one that I use the most often, so that's my little Canon.
I do process my photos in Lightroom before posting to my blog. Lightroom makes it incredibly easy. I set it up so that when my photos are imported into Lightroom, they are automatically run through an Auto Fix preset (free) by Matt Kloskowski at Lightroom Killer Tips. On photos with good color and exposure, I don't really need to do anything else. For certain corrections, I will play with the Lightroom development sliders to make the photo pop. I will show you a couple of examples.
This foliage photo is SOOC (straight out of camera) with no processing.

This is after a few quick tweeks in Lightroom.

So what did I do to it? Here's a comparison of the sliders in Lightroom.
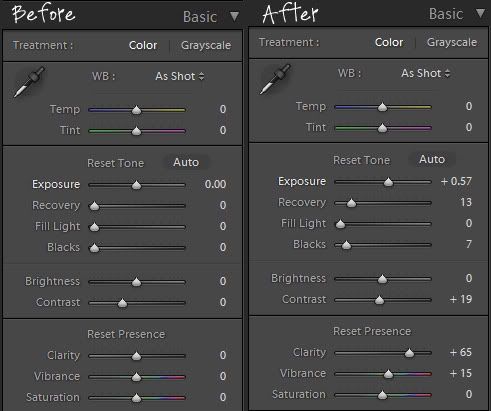
When photos come into Lightroom, all the sliders are set to zero, which means no adjustments. Since I set up my photo import to automatically run Matt K's Auto-Fix preset, the sliders move. Then if I want further adjustments, I slide the Exposure button or the Contrast button a little bit. Sometimes I play with the Recovery, Fill Light, and Blacks buttons too.
This photo of Todd is SOOC.

With a few adjustments in Lightroom.

Even more handsome than before! :p
And here are the settings for the before and after.

Not everyone likes to sharpen their photos this much. So use the contrast slider at your discretion.
Sometimes a photo will require some color / white balance adjustments due to lighting. This was the SOOC photo of my camera at the beginning of the post.
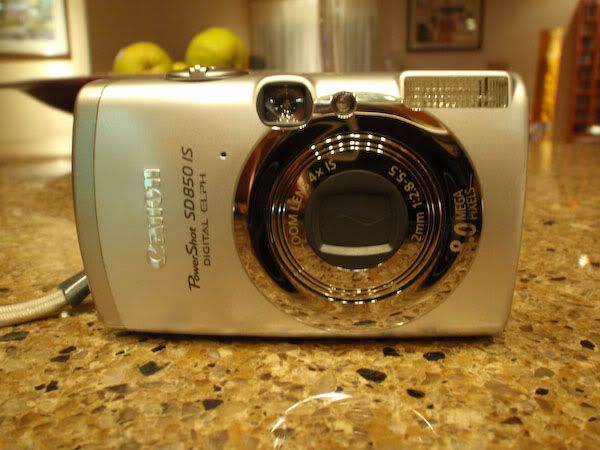
Notice the yellow hues? When I take photos in my kitchen, such as photos of all the food we cook, the lighting casts a yellow hue on all the photos. Looking at the sliders, can you see the adjustment for white balance?
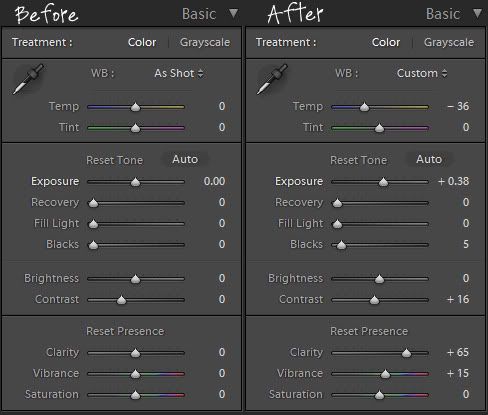
I moved the Temperature slider towards the blue a little bit, in order to get rid of the yellow hues in the photo. And since any photos I take in the kitchen end up like this, I made myself a preset called "Kitchen Lighting Correction", which automatically adjusts the white balance to take out the yellow lighting.
In summary, processing photos in Lightroom is a quick way to sharpen up the photo and make the colors pop a little more. I love it and use it everyday. It saves me a ton of time, since I am processing photos everyday for Project 365. Now you know all my photo processing secrets! :)
Cool, you answered all my questions! I do like your photos, especially the food and the scenery. I too use a small pocket camera (Olympus here) and sometimes my Sony Ericsson cell; great little camera! And I do like heavily sharpened and vibrant photos too. I have Lr, but I have been just using iPhoto to get my shots blog & Facebook ready and then use Ps, etc for scrapping. Thanks for the Tip on the Preset, and thanks again for taking the time to show us your photo tips.
ReplyDeleteAwesome! You do take beautiful pictures!!!
ReplyDeleteIs there a way I could get your email address? *smile*
Thank you for showing this, it is very interesting. I have a DSLR and I'm so happy with it, most of the time. But sometimes I would like to have that little sneak-in-your-pocket cam to bring everywhere. I'm just a little afraid to buy one and then find out that I'm not happy with the quality of the photos. Yours always looks very nice, so maybe this is the camera for me. =)
ReplyDeleteI always wondered why your photos looked so vibrant! I feel like mine look so flat and dull most of the time. I post all of mine straight from my camera. Hmm.. maybe I need to play around with the editing options a bit going forward.
ReplyDeleteIf you don't have a go-to software for this yet, Picasa (http://picasa.google.com/) is a free and relatively simple option. Its face recognition feature is way cool too.
ReplyDeleteIphone users should get PS Mobile (free) too.
thanks for sharing your photo processing secrets!
ReplyDeleteThanks for sharing! I played around a little bit with Lightroom last night and wish I read this then! Looks I'll be playing again tonight! :)
ReplyDelete