
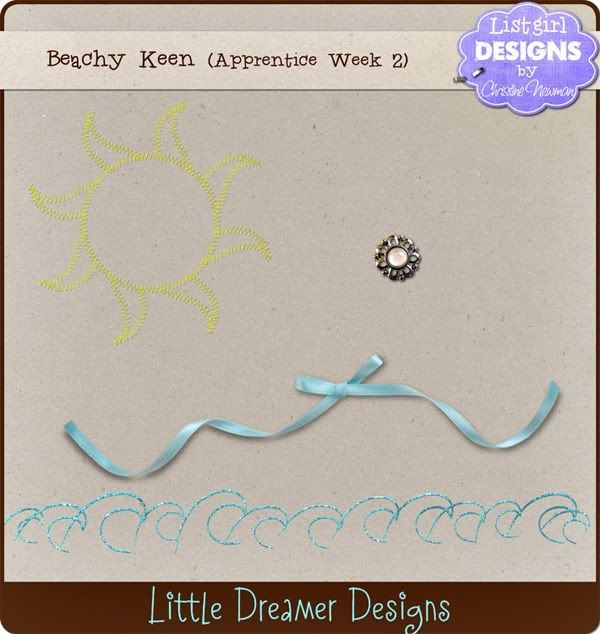
For this Round 2 assignment, we were to submit four elements: stitches, metal, glitter, and an element of our choice. I thought I would go with a beachy theme this time.
You can download and leave comments here. :)
Please make sure you check out all the participants' hard work and leave them comments if you download! I am doing this for the learning experience and for fun, since I sell at LDD already, I won't be in the contest to win a spot in the store. Please do cheer on the other participants who need your support to move on to the next round!
I was going to show you some "in process" screenshots of how the elements were made... but I'm too lazy to get on my desktop and take the screenshots right now (I'm on my laptop), LOL. So I'll just go ahead and describe my process a little bit, if you're interested.
- Stitched sun - I drew the sun in Illustrator and copied the path into Photoshop. Then I used the pen tool in PS to draw a "V" stitch. Then I made that into a brush in PS and applied the brush around the path of the sun. Then I created a pattern of parallel diagonal lines to overlay on top of the stitching to make it look like real thread. Then I created another round brush to hand-brush all the tiny stitching holes onto the stitches. This was a long process but I learned a lot!
- Metal flower button - a thrift shop purchase from years ago. I took a close-up photo of it and extracted it with the pen tool in PS. Then I dodged some areas to lighten the shadows to make it look better.
- Glitter wave border - I drew a single wave in Illustrator. Then I copied it into PS and made a brush out of it. I adjusted the brush settings and made an almost 12" border of waves. I saved the wave border as a jpeg. (At this point it's just black and white.) Then I opened Art Rage and imported the jpeg as a "stencil" in Art Rage. I adjusted the stencil size and use it to apply blue glitter. After I was happy with the glitter, I exported it as a PNG file and opened it back up in PS to clean up some stray glitter.
- Ribbon - I took a plain ribbon roll and cut a length off it. Then I made the bow and attempted to curl and position the ribbon with some depth and curl. Then I took a bunch of photos of it on top of both black and white paper, until I was happy with one. Then I used the pen tool in PS to extract the ribbon from the background, which took a long time, LOL. Both the shadowed and unshadowed version of the ribbon is included in the element pack.
This week I will continue with the beachy theme in the Round 3 assignment so that you can add it to your stash to scrap beachy themed layouts with them. :)
I love the stitched sun! And thanks for including the steps that you take to make and element. I've always wondered about "how they do that." And now I know that it is waaaay to involved for me! Thanks for putting the work into designing fun elements for our pages! I have a new respect for designers...its not easy to make all of those fun items that we use on our pages.
ReplyDeletexoxo!
H
thanks for the step by step, i always wanted to create my own stitches!
ReplyDeletefor the ribbon, did you end up with the one on the black or white background?
well done Christine and thanks for the freebie ;-)
Hi Sandra! I ended up extracting the ribbon from the white background. I don't have a really good camera, so when I took photos of the ribbon on black paper, it over-exposed the ribbon and I couldn't see the details/textures on the ribbon as good as I could on the white paper.
ReplyDeleteLove that! :)
ReplyDelete