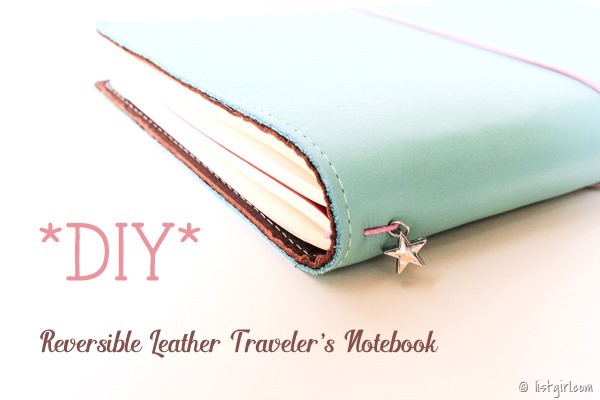
The Midori-style traveler’s notebook is all the rage currently in the crafting/planning/scrapbooking world. I have jumped in head-first, because I’ve always loved notebooks and list-making. Um, my blog is called listgirl.com, right? :-) The original Midori Traveler’s Notebook is from Japan. It was intended to be used to document life’s adventures. Nowadays crafters, planners, and scrapbookers are using it to doodle, plan, make lists, and document their lives like a scrapbook. This style of notebook consists of a cover, along with a series of elastic cords to keep notebooks, folders, pouches, etc. in place inside the notebook. If you google “fauxdori”, you will see a ton of people making DIY traveler’s notebooks either for themselves or for sale.
I decided to try to make my own traveler’s notebook, just for fun and experience. I wanted it to be leather on both sides and reversible.
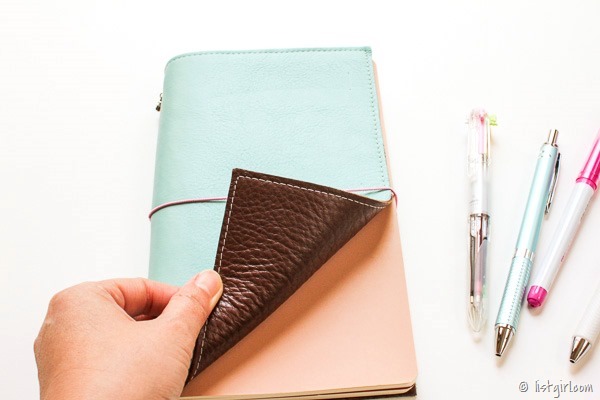
And I wanted to make it as cheap as possible. After all, this is DIY. I did purchase a genuine Midori regular size in brown, and it cost about $45 on Amazon. I wanted to make one a lot cheaper on my own, just to see how economical it could be to make your own. I got my materials from Michaels and Joanns. I had all the tools already in my craft studio. If you needed to purchase more tools to make them, then you would need to spend more money investing in the tools.
MATERIALS:
- Light blue leather 8.5x11 ($4.99 after 50% off coupon at Michaels)
- Chocolate brown leather 8.5x11 ($4.99 after 30% off coupon at Michaels)
- Metal star charm ($0.46 after 30% off coupon. It was part of a three-set charm for $1.39)
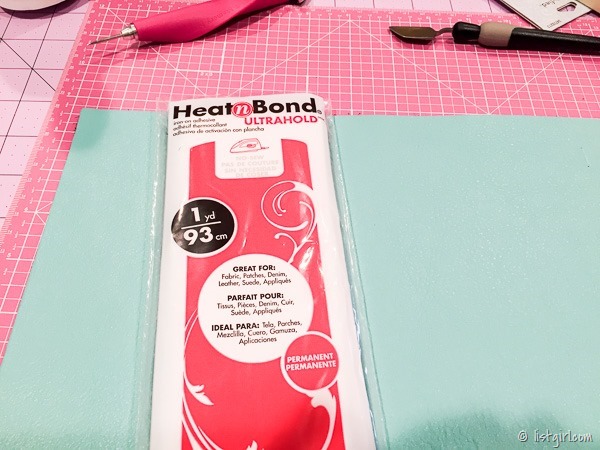
- Therm O Web Heat N Bond Ultrabond 17”x 1 yard ($0.29. The entire sheet was $1.75 after 50% off coupon at Joann, and I used about 1/6 of it.)
- Elastic cords ($0.22. It was $3.99 for six colors for a total of 18 yards. I used not even one yard.)
- Sewing thread (negligible cost)
So my total cost was about $10.95, under $11!
Here’s the two pieces of leather laid out side by side before I got started. The underside of the leather is more uneven and fibrous.

I used Heat N Bond Ultrabond with an iron to fuse the two undersides of the leather together. I didn’t take photos of that because I was using an iron.
After fusing the two pieces of leather together, I measured the middle of the leather piece and punched two holes toward the top and two holes toward the bottom. These will be for stringing the elastic cords through to hold the notebooks. I used my WRMK piercing tool.
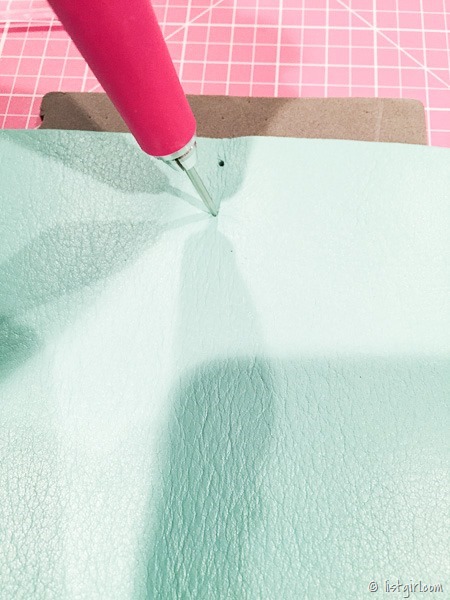
I also pierced a hole in the middle of the notebook. That’s for stringing the elastic loop for holding the whole thing together.

Then I used a big needle to string the elastics through the leather cover.
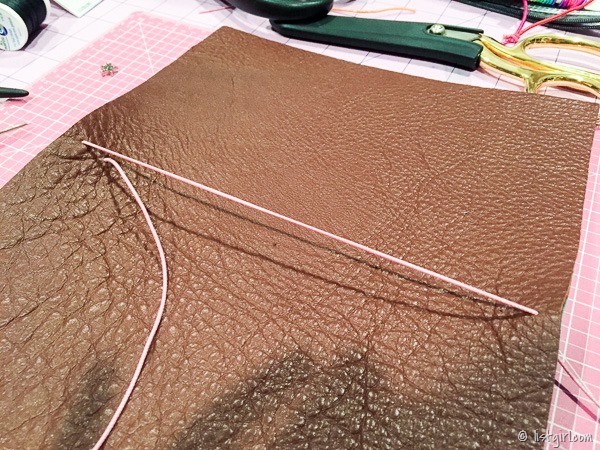
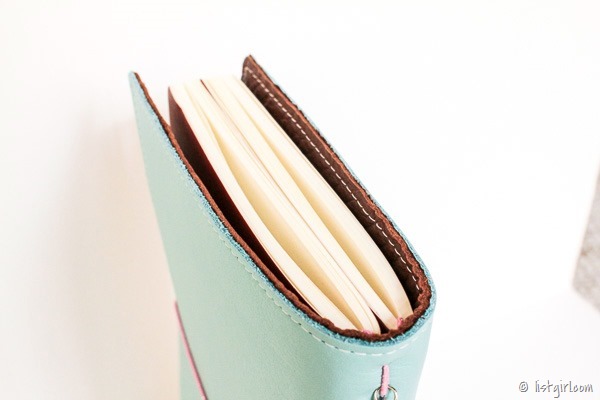
I was basically done with the construction at that point. However, after handling the notebook for a while, I decided that the Heat N Bond didn’t hold the two pieces of leather glued together well enough, especially on the edges. So I decided to use my sewing machine and and add a stitched edging to hold the two pieces together.
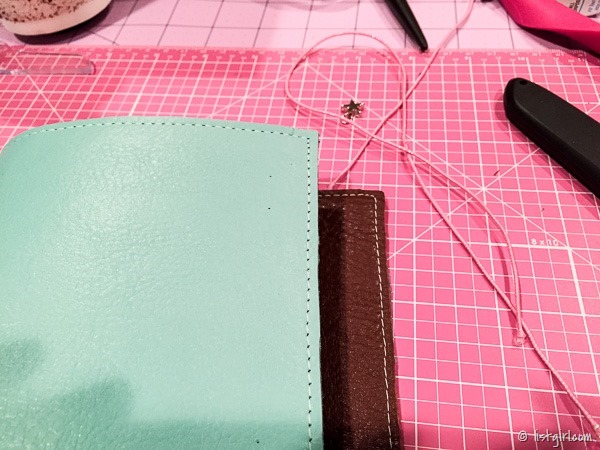
The stitched edge really gives it a finished look! I really love how my reversible leather traveler’s notebook turned out!
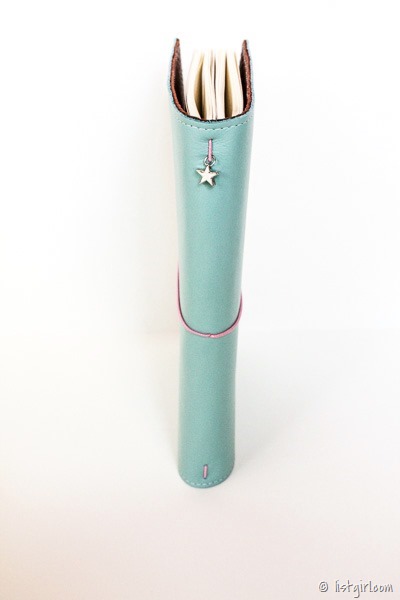
The star charm in the top loop.
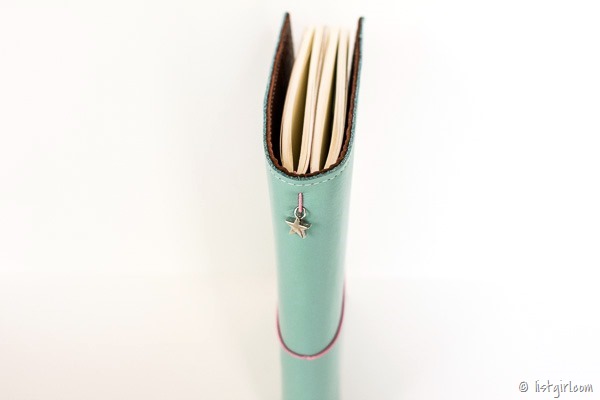
Since the chocolate brown leather is just as good quality and the light blue one, I can use that side as the outside when I feel like it. I would just need to re-string the elastics.
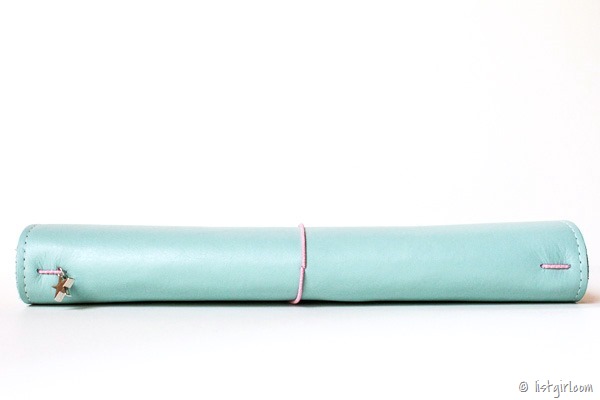
Sideways view.
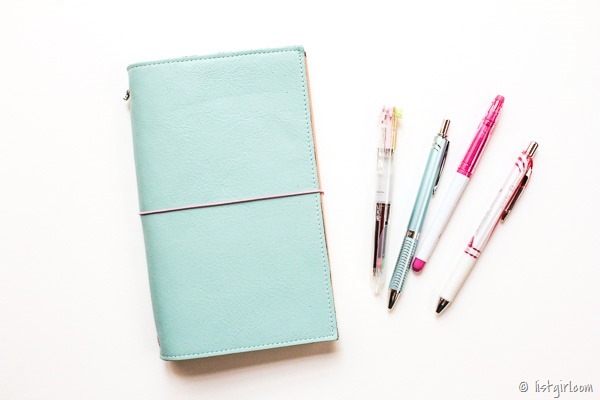

The finished notebook cover is 8.5x11 (I didn’t cut the leather, except to trim the edges so that both pieces are straight).
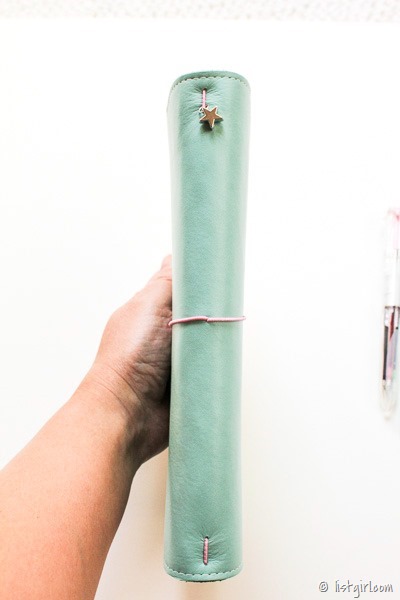
I strung the elastics so that there are two vertical ones. It holds two or more notebooks. You can add elastic bands (or long rubber bands) to hold even more notebooks together.

The width of the cover is exactly perfect to hold two 5x8.25 large Moleskine Cahier notebooks. I happened to have the same sized Piccadilly Memo Medium notebooks, so I used those.

The 5x8 May Books would fit in here too.
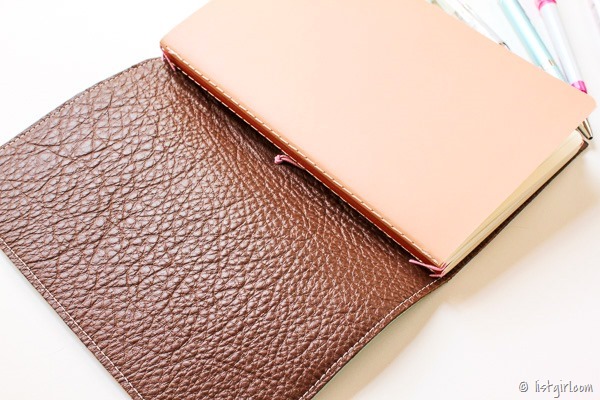
I really love how my DIY reversible leather traveler’s notebook turned out! The leather is soft and I love that it’s reversible. I also love how economical it was to make something like this, with coupons for Michaels & Joann. I just wish that the leather came in more colors, because I would make many more, ha ha! This is my biggest sized traveler’s notebook. It will most likely stay home. I will use it for crafty planning & ideas.
Hope you enjoyed this tutorial on how I made my DIY traveler’s notebook, and are inspired to make one of your own! ♥


