Showing posts with label Sewing. Show all posts

Thursday, June 18, 2015

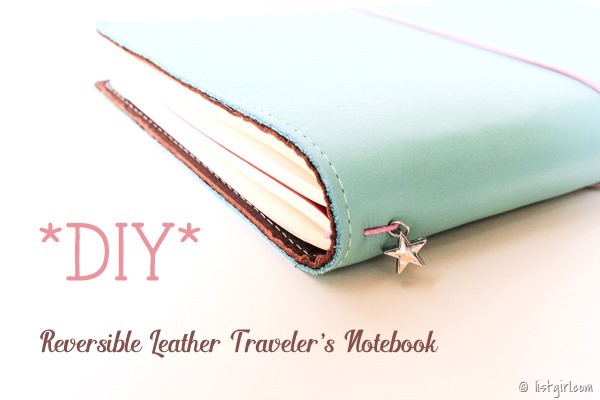
Tutorial | DIY Reversible Leather Traveler’s Notebook

20150613-IMG_5659_CLN_600

The Midori-style traveler’s notebook is all the rage currently in the crafting/planning/scrapbooking world.  I have jumped in head-first, because I’ve always loved notebooks and list-making.  Um, my blog is called listgirl.com, right? :-)  The original Midori Traveler’s Notebook is from Japan.  It was intended to be used to document life’s adventures.  Nowadays crafters, planners, and scrapbookers are using it to doodle, plan, make lists, and document their lives like a scrapbook.  This style of notebook consists of a cover, along with a series of elastic cords to keep notebooks, folders, pouches, etc. in place inside the notebook.  If you google “fauxdori”, you will see a ton of people making DIY traveler’s notebooks either for themselves or for sale.

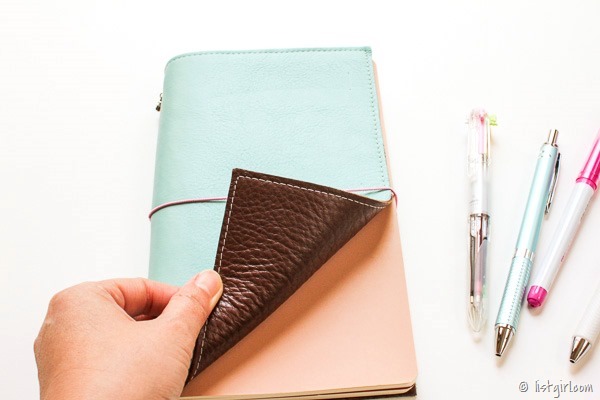
I decided to try to make my own traveler’s notebook, just for fun and experience.  I wanted it to be leather on both sides and reversible. 
20150613-IMG_5662_blog

And I wanted to make it as cheap as possible.  After all, this is DIY.  I did purchase a genuine Midori regular size in brown, and it cost about $45 on Amazon.  I wanted to make one a lot cheaper on my own, just to see how economical it could be to make your own.  I got my materials from Michaels and Joanns.  I had all the tools already in my craft studio.  If you needed to purchase more tools to make them, then you would need to spend more money investing in the tools.

MATERIALS:

  • Light blue leather 8.5x11 ($4.99 after 50% off coupon at Michaels)
  • Chocolate brown leather 8.5x11 ($4.99 after 30% off coupon at Michaels)
  • Metal star charm ($0.46 after 30% off coupon. It was part of a three-set charm for $1.39)
  • Therm O Web Heat N Bond Ultrabond 17”x 1 yard ($0.29.  The entire sheet was $1.75 after 50% off coupon at Joann, and I used about 1/6 of it.)
  • Elastic cords ($0.22.  It was $3.99 for six colors for a total of 18 yards.  I used not even one yard.)
  • Sewing thread (negligible cost)

So my total cost was about $10.95, under $11!

Here’s the two pieces of leather laid  out side by side before I got started.  The underside of the leather is more uneven and fibrous. 

20150612-2015-06-12 16.12.49_blog

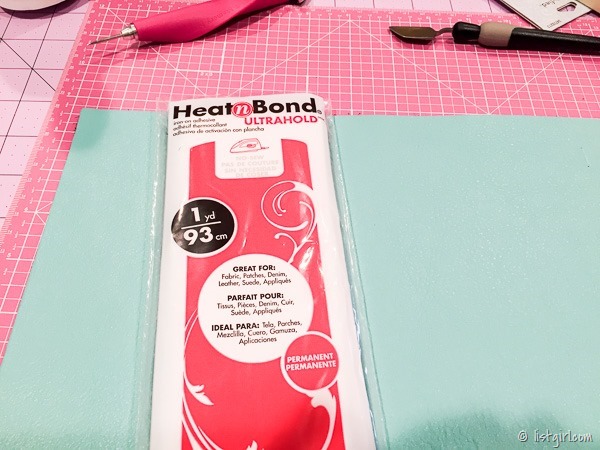
I used Heat N Bond Ultrabond with an iron to fuse the two undersides of the leather together.  I didn’t take photos of that because I was using an iron.
20150612-2015-06-12 16.23.05_blog

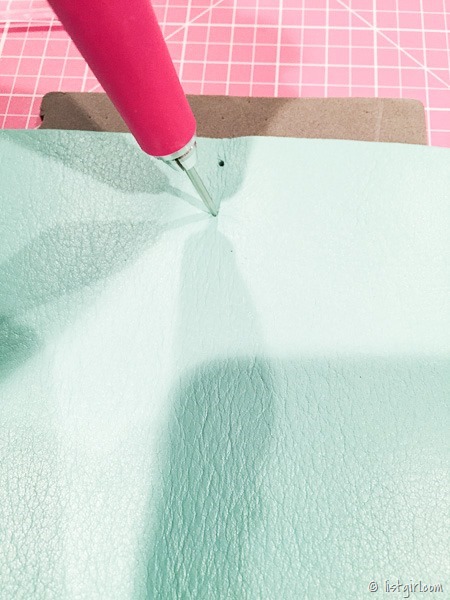
After fusing the two pieces of leather together, I measured the middle of the leather piece and punched two holes toward the top and two holes toward the bottom.  These will be for stringing the elastic cords through to hold the notebooks.  I used my WRMK piercing tool.
20150612-2015-06-12 17.24.36_blog

I also pierced a hole in the middle of the notebook.  That’s for stringing the elastic loop for holding the whole thing together.

20150612-2015-06-12 17.29.20_blog

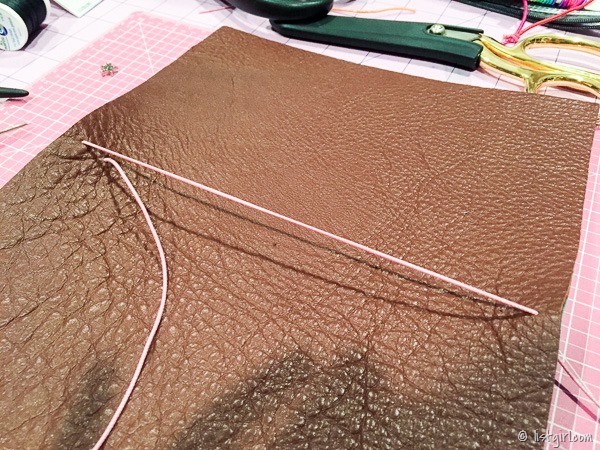
Then I used a big needle to string the elastics through the leather cover. 
20150612-2015-06-12 17.43.21_blog

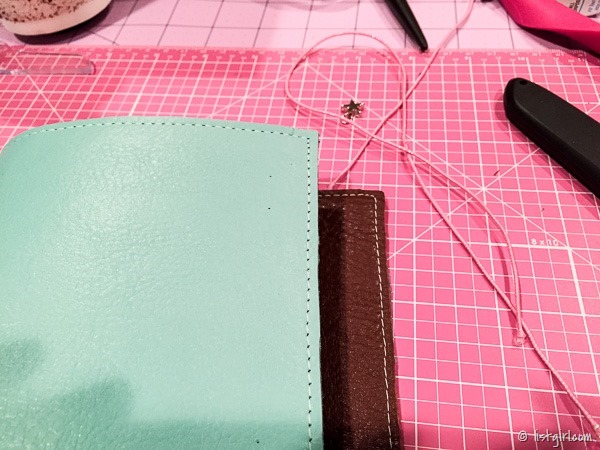
I was basically done with the construction at that point.  However, after handling the notebook for a while, I decided that the Heat N Bond didn’t hold the two pieces of leather glued together well enough, especially on the edges.  So I decided to use my sewing machine and and add a stitched edging to hold the two pieces together.
20150612-2015-06-12 19.21.43_blog

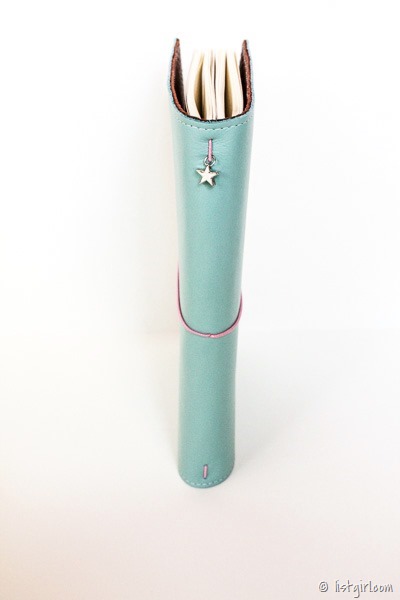
The stitched edge really gives it a finished look!  I really love how my reversible leather traveler’s notebook turned out!
20150613-IMG_5656_blog

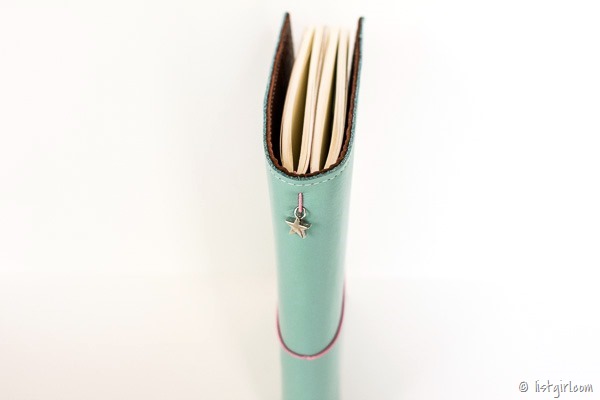
The star charm in the top loop.

20150613-IMG_5652_blog

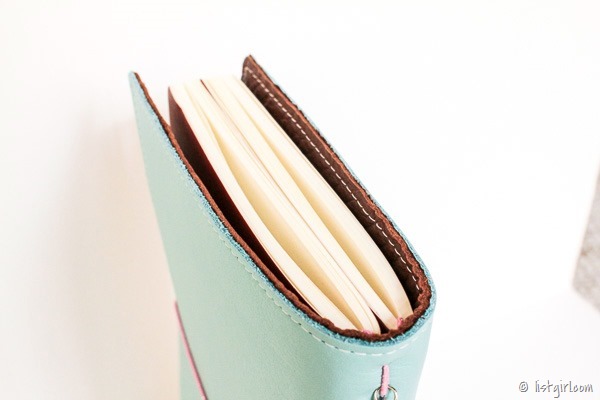
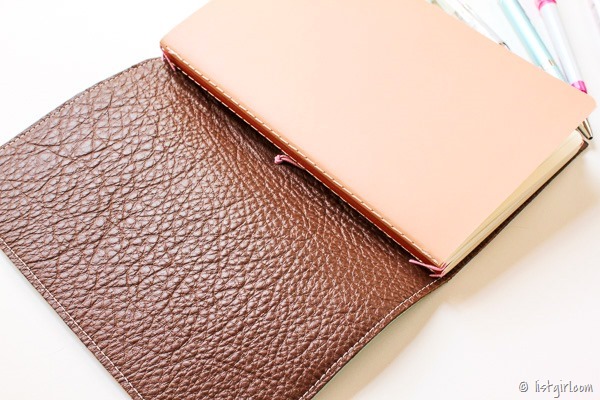
Since the chocolate brown leather is just as good quality and the light blue one, I can use that side as the outside when I feel like it.  I would just need to re-string the elastics.
 

20150613-IMG_5657_blog

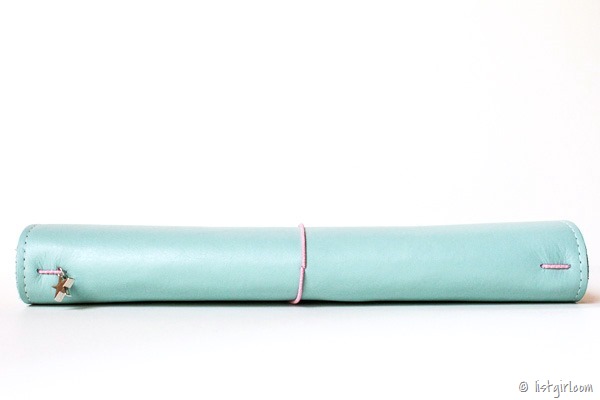
Sideways view.

20150613-IMG_5658_blog

20150613-IMG_5661_blog


20150613-IMG_5663_blog

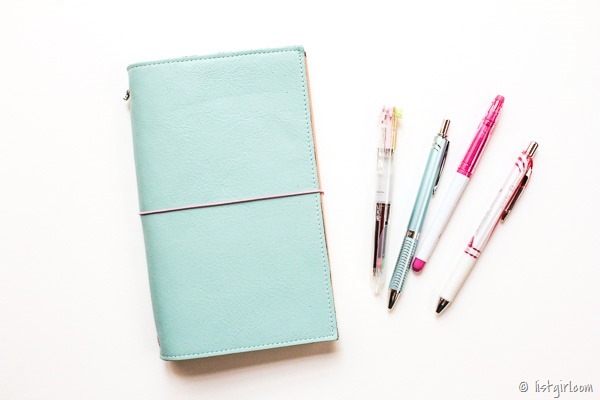
The finished notebook cover is 8.5x11 (I didn’t cut the leather, except to trim the edges so that both pieces are straight). 
20150613-IMG_5664_blog

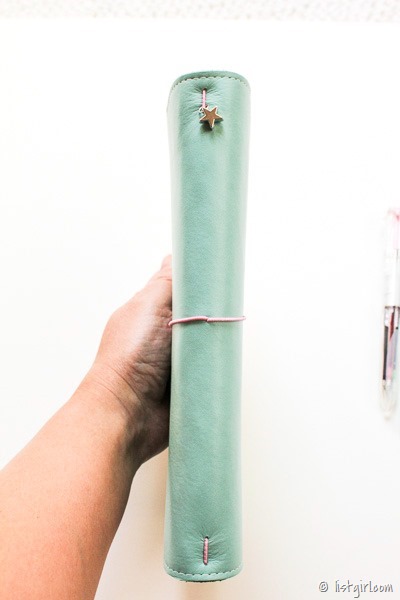
I strung the elastics so that there are two vertical ones.  It holds two or more notebooks.  You can add elastic bands (or long rubber bands) to hold even more notebooks together. 

20150613-IMG_5672_blog

The width of the cover is exactly perfect to hold two 5x8.25 large Moleskine Cahier notebooks.  I happened to have the same sized Piccadilly Memo Medium notebooks, so I used those. 

20150613-IMG_5666_blog

The 5x8 May Books would fit in here too. 
20150613-IMG_5665_blog

I really love how my DIY reversible leather traveler’s notebook turned out!  The leather is soft and I love that it’s reversible.  I also love how economical it was to make something like this, with coupons for Michaels & Joann.  I just wish that the leather came in more colors, because I would make many more, ha ha!  This is my biggest sized traveler’s notebook.  It will most likely stay home.  I will use it for crafty planning & ideas.

Hope you enjoyed this tutorial on how I made my DIY traveler’s notebook, and are inspired to make one of your own!  ♥

Read More »

Sunday, June 14, 2015

Design A Softie | Pen Pouch Birthday Gift

20150529-2015-05-29 15.54.14_blog

After making that first softie for a baby shower, I decided to make a pencil pouch birthday gift for Peppermint.  I followed the same basic design, except that instead of a stuffed animal I turned it into a pen pouch.  And since it’s a pen pouch, I thought I would make him a nerdy cat! :-)

And I included two Uni-ball Signo DX Hello Kitty Limited Edition pens.

20150529-2015-05-29 15.55.38_blog

I used two pieces of felt for each side, front and back.  The outside is cream felt and the inside lining is gray felt.

20150529-2015-05-29 15.55.59_blog

20150529-2015-05-29 15.56.02_blog

I sent him off with a handmade card.

20150530-2015-05-30 08.42.20_blog

20150530-2015-05-30 08.43.29_blog

He got to Peppermint safely!

20150603-IMG_7867_blog

Read More »

Sunday, June 7, 2015

Design A Softie | Gift for Baby

20150524-IMG_5602_blog

I purchased Papertrey Ink’s Design-A-Softie kit so that I can make little felt stuffed animals for a few friends who are having babies this year.  I love the idea of a handmade soft little animal for a new baby.  Heck, I love these for myself!  :-)  I made this cute softie kitty for my friend Monika’s baby shower.

I diecut the pieces out of paper first so I could see which pieces I wanted to use for my softie. 

20150517-2015-05-17 10.36.29-1_blog

Once I knew which pieces I wanted, I diecut everything out of wool felt.  Since softies have fronts and backs, I had to cut out double the amount of items for body, head, ears, arms, legs, etc.

20150517-2015-05-17 11.10.29_blog

Then I used embroidery floss to hand-stitch it all together.  I left a hole to fill it with fiber-fill, then sewed it closed.

He is so cute!

20150524-IMG_5605_blog

20150524-IMG_5600_blog

I sewed a pocket on the back so I could slip in this tag with his name.

20150524-IMG_5601_blog

I also sewed a little “price tag” into his ear that said “made with hugs, kisses, and loving stitches”.  This piece the recipient can cut with scissors to remove.

20150524-IMG_5592_blog

I just love his little pink nose and matching belly patch!

20150524-IMG_5603_blog

I turned the paper-pieced prototype into a baby shower card and slipped everything for the baby into a box.  As you can see, Noodle took a keen interest in the little kitty softie!

20150529-2015-05-29 11.38.34_blog

I wrapped up the gift for Monika & baby and tied it up with twines and a little handmade tag.

20150531-2015-05-31 08.40.54_blog

It took a few hours to make this kitty softie, but it was way worth it!  I hope the baby enjoys this little softie for years to come!

Read More »

Sunday, April 26, 2015

Make A Card | Congratulations

20150416-2015-04-16 16.19.02_CLN

I made my friends Monika & David a congratulations card for expecting a baby.  You can read about Monika’s pregnancy story here. 

20150416-2015-04-16 16.18.28_CLN_1000

Size: 4.25” x 5.5” vertical

Techniques:  stamping, manual diecutting, stitching

Project Supplies:

Tools:

Read More »

Wednesday, August 28, 2013

Monika & David, Sittin’ In A Tree…

Our friends Monika & David got married in July in Maui.  We couldn’t go, because we are actually going to Maui later this year.  But just because we missed the wedding doesn’t mean we miss out on the fun of celebrating with them!

I made a handmade wedding card for Monika & David.  Monika likes purple, so I thought I would include some glittery purple paper.
20130824-IMG_1409_600

First I used my Martha Stewart 1” scalloped circle punch and punched out a bunch of silver and purple glitter circles.  Then I sewed them onto a piece of vellum paper.
20130824-IMG_1398_600

When I was done sewing, I adhered the vellum to my A2 cardstock.
20130824-IMG_1404_600

I never waste paper, so I punched out some little 1/4” hearts with the bits of paper left.
20130824-IMG_1405_600

And adhered them randomly onto the front of the card.
20130824-IMG_1409_600

For the inside of the card, I stamped the shape and sentiment from Papertrey Ink’s Happy Day stamp set onto a piece of white cardstock.
20130824-IMG_1406_600

Then I used the coordinating die to cut it out and adhered it to the inside of the card.
20130824-IMG_1407_600

For the envelope, I used my gigantic alphanumeric roller stamp, plus the Valentine’s roller stamp from American Crafts.  The envelope was slippery and shimmery, so I used Staz On ink for it.
20130824-IMG_1411_600

I wanted to make a garland to go around the gift, so I sewed a garland with the leftover silver and purple punched circles.
20130824-IMG_1402_600

Sewing the garland was easy.  Just feed each circle into the machine, allowing a small space in between them.
20130824-IMG_1401_600

Here’s the whole package together!
20130824-IMG_1412_600

On Sunday 8/25, we met up with Monika & David at URBN in North Park for lunch.  We had never been there before and were excited to try new food.  I actually had a bunch of gifts stored up for Monika, because the last time we saw them, I forgot to bring her Christmas gift.
20130825-IMG_2903_600

20130825-IMG_2906_600

The food at URBN was really good!  Todd & I shared a tomato & mozzarella salad.
20130825-IMG_1464_600

And a pizza, which turned out to be WAY too big.  We had no idea it was going to be so huge.
20130825-IMG_0233.JPG (2)_600
I had two smaller pieces, Todd ate a bunch, and still got a lunch out of it for the next day.

I had a bite of these chicken wings that Monika and David got, and it was delicious!  Not heavily breaded, and not saucy.  I like it!
20130825-IMG_1466_600

So happy to finally get together with Monika & David to celebrate their new marriage, and to eat good food!
20130825-IMG_0232.JPG (2)_600

Read More »
[feedly mini]